Customize Your Campaign Email or Text
Get Reviews' robust template management system allows you to create templates from scratch, which can be utilized to send review requests, customer experience requests, and custom campaigns to your patients.
By default, a 'Review request email' and a 'Review request text' template are available within your Get Reviews account. To customize templates or create your own, follow the steps outlined below.
Creating a New Text or Email Template
- In your Reviews dashboard, click 'Campaigns' on the left sidebar. On the new page, click the 'Templates' tab on the top.
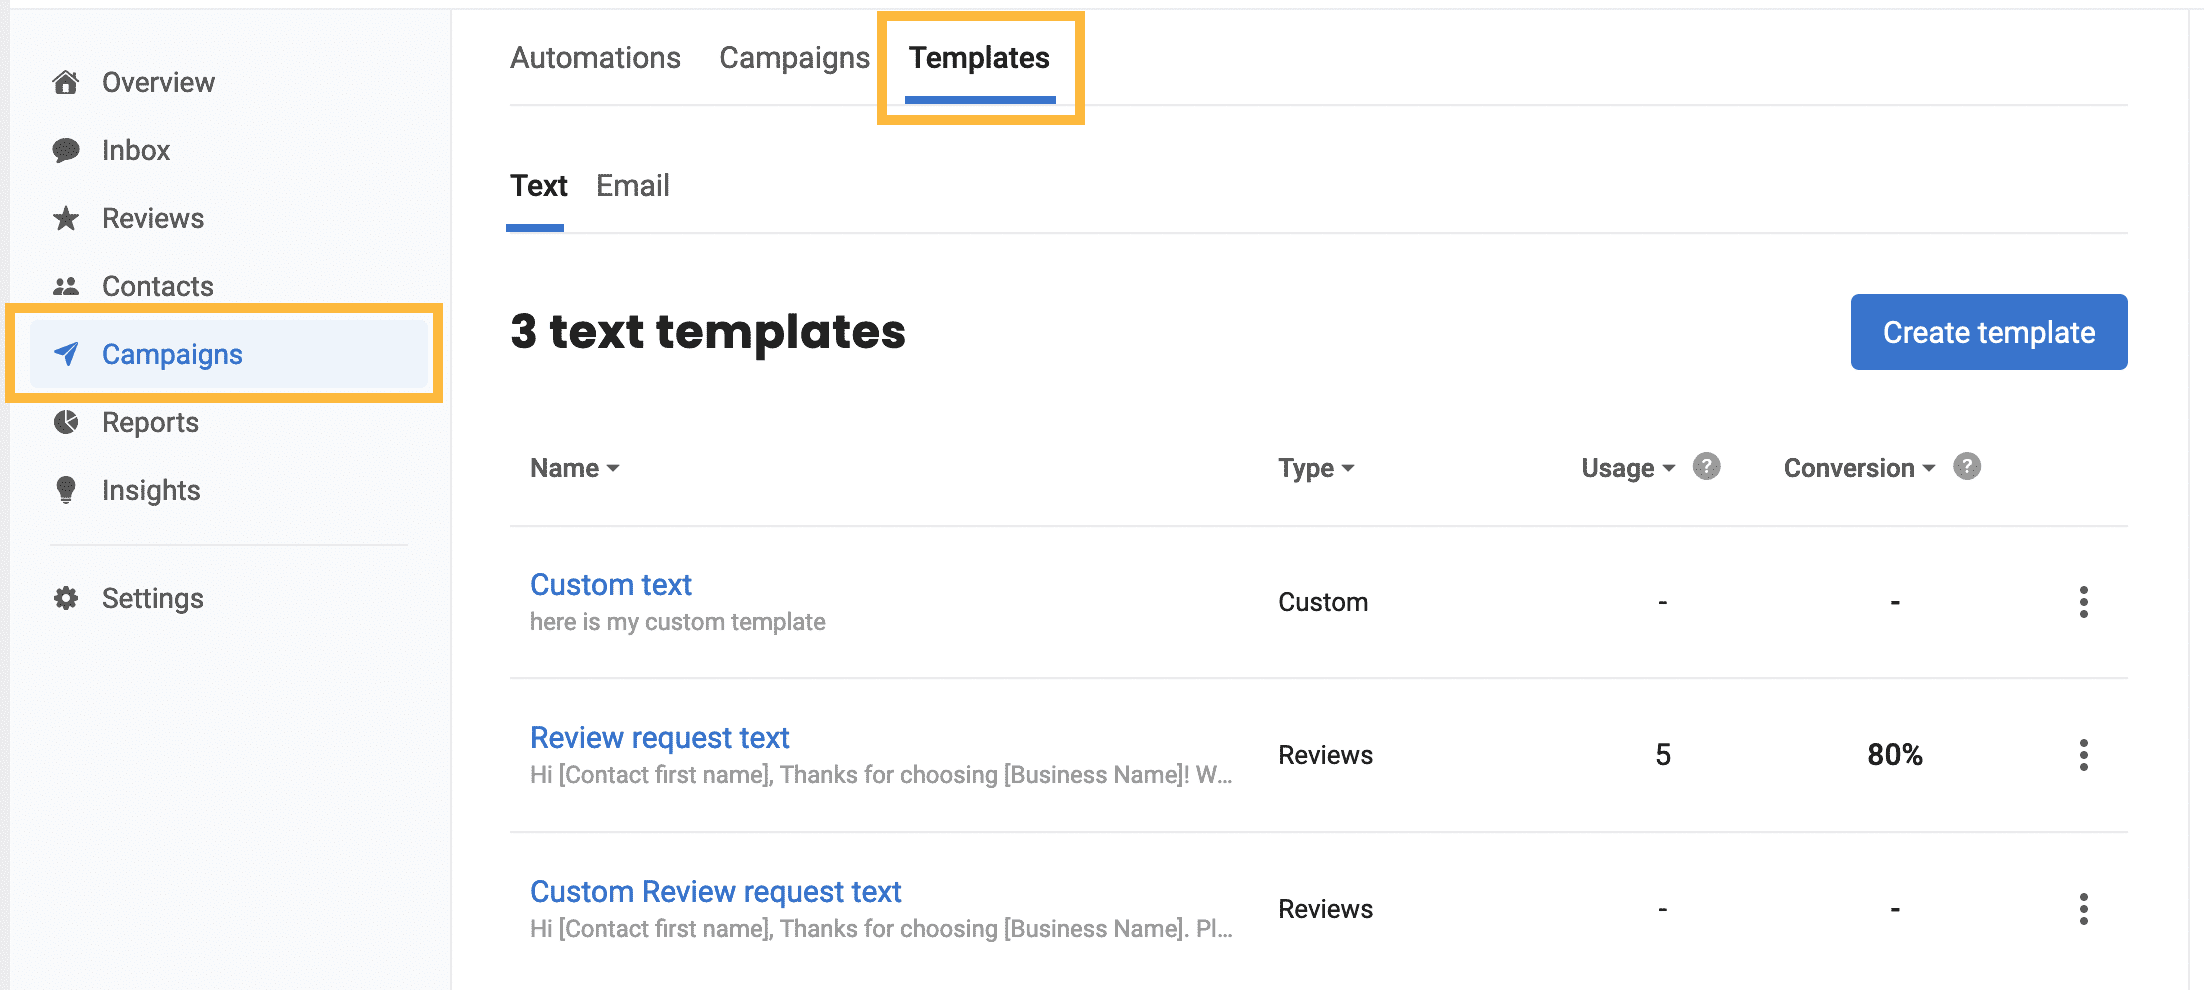
- On the 'Templates' page, select the category (Email or Text) you want to create. Notice you can also see template types, usage and conversion rates.
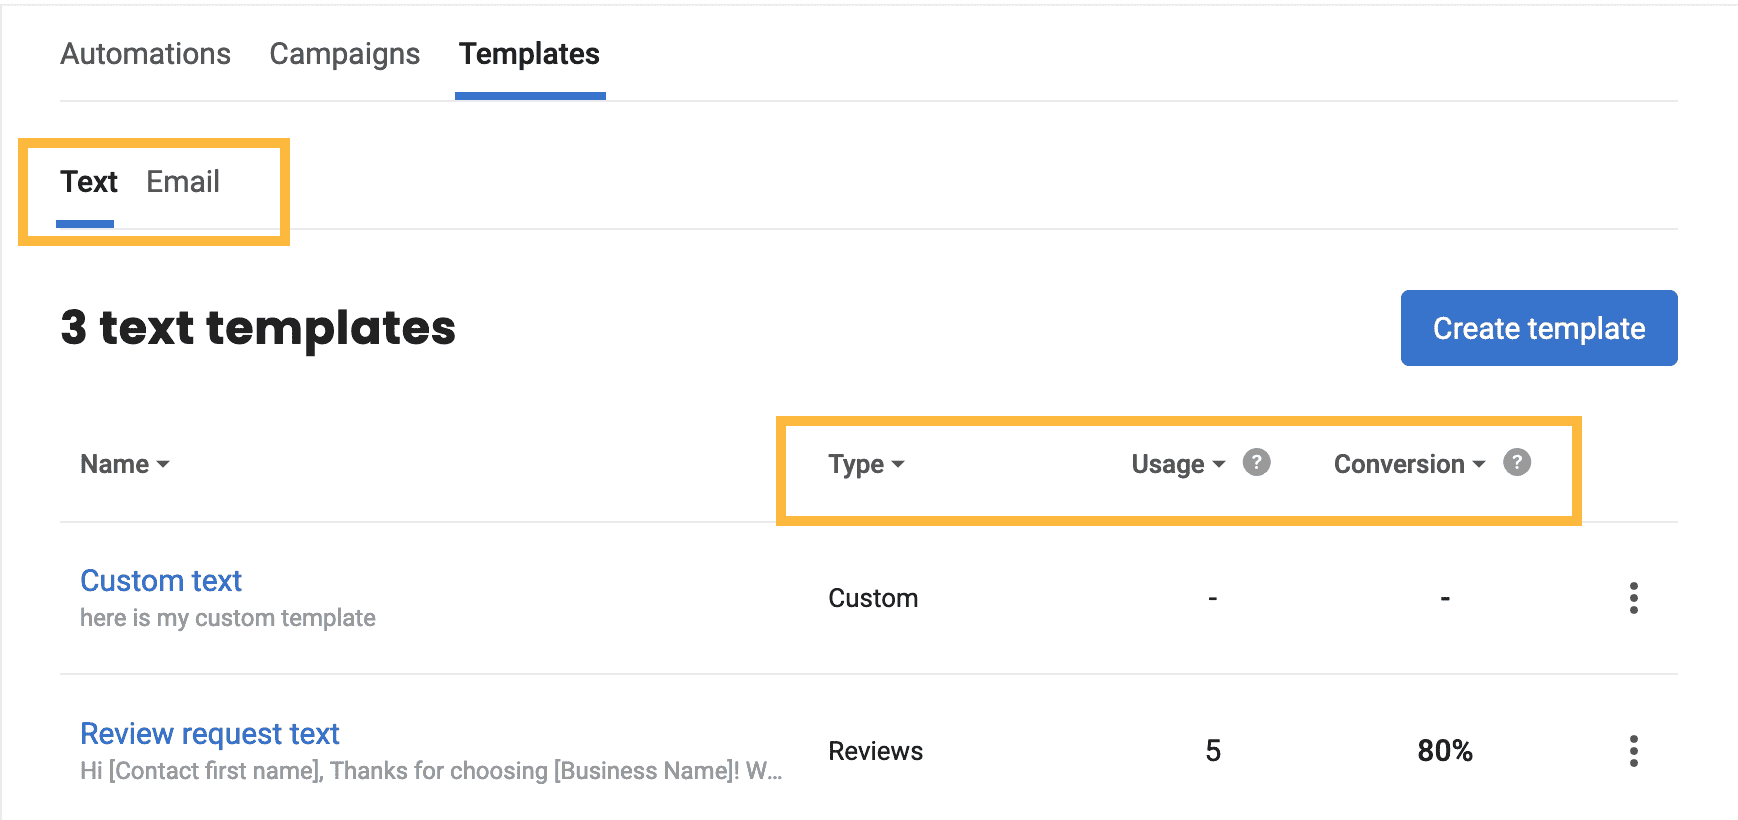
- Click the blue 'Create template' button on the top right.
- This opens a pop-up window which allows you to select a template type. For this example, we'll create a Review request email template.
- On the new page, you have the ability to customize the entire template to fit your needs.
- General: This is the text or email that the patient will receive. No need to add links where they can leave a review, those will be added automatically based on the next options you choose. (See screenshot)
- Review Request Page: Once the patient click the link that'll be automatically added in your email or text, they'll be taken to a branded landing page. This is the section where you select which review sites they'll be able to select on that page, and whether or not they'll be able to send you a private message if they were unhappy. (See screenshot)
- Feedback Page: This is the page someone will be taken to if they prefer to send you private feedback instead of posting a public review. (See screenshot)
- Thank You Page: This is the text on the page someone will be taken to after leaving you a review or private feedback. (See screenshot)
- Once you're happy with everything there, scroll back up to the top of the page and click the blue 'Save' button in the top right.
- In your Reviews dashboard, click 'Campaigns' on the left sidebar. On the new page, click the 'Templates' tab on the top.
- On the 'Templates' page, select the category (Email or Text) of the template you want to edit. Notice you can also see template types, usage and conversion rates.
- Click on the template you want to edit.
- Your customization options will differ based on the type of template (Reviews, Custom, etc.). For example purposes here, we'll walk through the parts of a Reviews template since those have the most parts.
- General: This is the text or email that the patient will receive. No need to add links where they can leave a review, those will be added automatically based on the next options you choose. (See screenshot)
- Review Request Page: Once the patient click the link that'll be automatically added in your email or text, they'll be taken to a branded landing page. This is the section where you select which review sites they'll be able to select on that page, and whether or not they'll be able to send you a private message if they were unhappy. (See screenshot)
- Feedback Page: This is the page someone will be taken to if they prefer to send you private feedback instead of posting a public review. (See screenshot)
- Thank You Page: This is the text on the page someone will be taken to after leaving you a review or private feedback. (See screenshot)
- Once you're happy with everything there, scroll back up to the top of the page and click the blue 'Save' button in the top right.
⭐ Best Practice Recommendations for Review Campaigns
Based on our experience, here are some things we recommend for getting the best results from your review requests:

- Keep the button for private feedback red. You want this button to attract people who were unhappy with their visit so they will message you privately instead of posting a public review. The default red color was chosen strategically to grab the attention of anyone who feels they have a problem or complaint.
- Only give one or two options for review sites. Too many options will turn people away. If you are trying to get more on a particular site, only include that one. (Your options for which sites you can request reviews from are based on which sites Get Reviews has previously found reviews for you on. If you want to try to get reviews on a site not listed here, contact our team and we'll see if we can add it for you.)
- Keep your message short and to the point. People's attention spans are very short.
- Make it feel more personal. You can increase your chances of getting more reviews by making the ask feel personal. To do this, you can pull in things like the patient's first name and inject your personality into the message itself.