
Investing in professional photographs of you, your staff, and your office is a wise investment in this digital, image-driven age.
But whether you are hiring a professional photographer or taking photos yourself, there are several things to keep in mind to make sure you get the best photos possible.
Remember, any photos you place on your website need to capture your visitors’ attention and encourage them to visit your dental practice.

 1. Avoid empty rooms
While it may be tempting to shoot your photos while your practice is closed, remember that you are not taking these photos for an architectural magazine that wants to showcase your building.
You are taking these photos for people, and prospective patients like to see that other people just like them visit your practice.
Would you want to eat at the empty restaurant or the restaurant with a line out the door? The presence of others is like a direct referral.
Ask your staff, patients, family members, or friends to be in your photos. Just remember to have anyone who appears sign a release form.
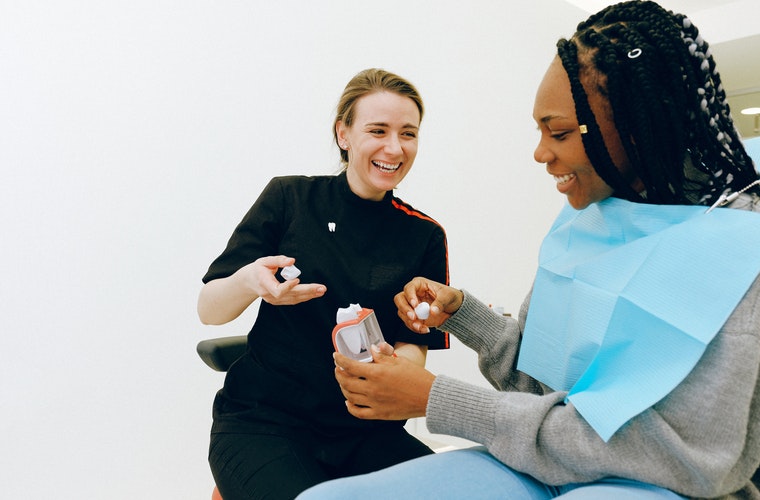
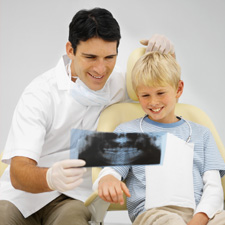
2. Do something
To avoid posed, stiff-looking photos, do something. Point to a specific spot on an X-ray or hand a piece of paper over to one of your staff members.
These types of photos look candid, depicting everyday actions that occur in your office. Candid shots like these portray a comfortable, natural environment
3. Don’t amputate your subjects
Try not to do any dramatic cropping of your subjects in the camera. You always have the option to crop photos later, so make sure you get a full view of your subjects to avoid awkward amputations.
4. Be aware of head space
Pay attention to the spacing between heads when taking a photo of two people. If their heads are too far apart, you’ll lose energy and facial expressions. The viewer’s eye ends up drawn to the background rather than the people.
Tip: shoot the photo over one of the subject’s shoulders to bring the heads closer together. Also, be aware of shadows on background walls that may cause facial distortion.
5. Say cheese!
Unfortunately, the dentist is not always a patient’s favorite place. So it’s especially important that if you show a patient’s face in your pictures, they need to be smiling! They need to appear as if they are comfortable and happy at your practice. Don’t add to someone’s dental anxiety by showing photos of people who appear uncomfortable.
6. Analyze the background
Make sure you pay attention to what is in the background of your photos. You don’t want to show a cluttered office space or scary looking equipment. Although you know what your dental equipment is used for, it may make prospective patients nervous and that is not what you want. You want to convey that your office is organized, clean, and welcoming.
7. Take interesting exterior shots
Having a picture of your building on your practice website can be quite helpful for new patients who have never been to your office. But try to make exterior shots interesting, too.
Shoot the exterior in the morning or toward the end of the day for better lighting, and try not to show an empty parking lot (remember the restaurant analogy above). Also, try getting a picture of your building at an angle to add some dimension.
Showcase Your Dental Practice with Great Photos
If your website photos are outdated or unappealing to prospective patients, it’s time to consider getting new ones taken. And if you’re a Smile Marketing client, we are happy to update the photos on your website any time!